How to Install Corner Guards That Won't Ruin Your Furniture
19 November 2025
As parents, we all know how nerve-wracking it can be to watch our little ones wobble around the house, heading straight for sharp furniture edges like tiny, fearless daredevils. Corner guards are lifesavers, but there’s always that nagging worry—what if they damage or discolor my beautiful furniture?
Good news: You can install corner guards without ruining your furniture. If you've been holding back because you're afraid of sticky residues or permanent marks, this guide is for you! We’ll walk you through the best methods, materials, and tips to keep your furniture safe while making your home child-friendly. 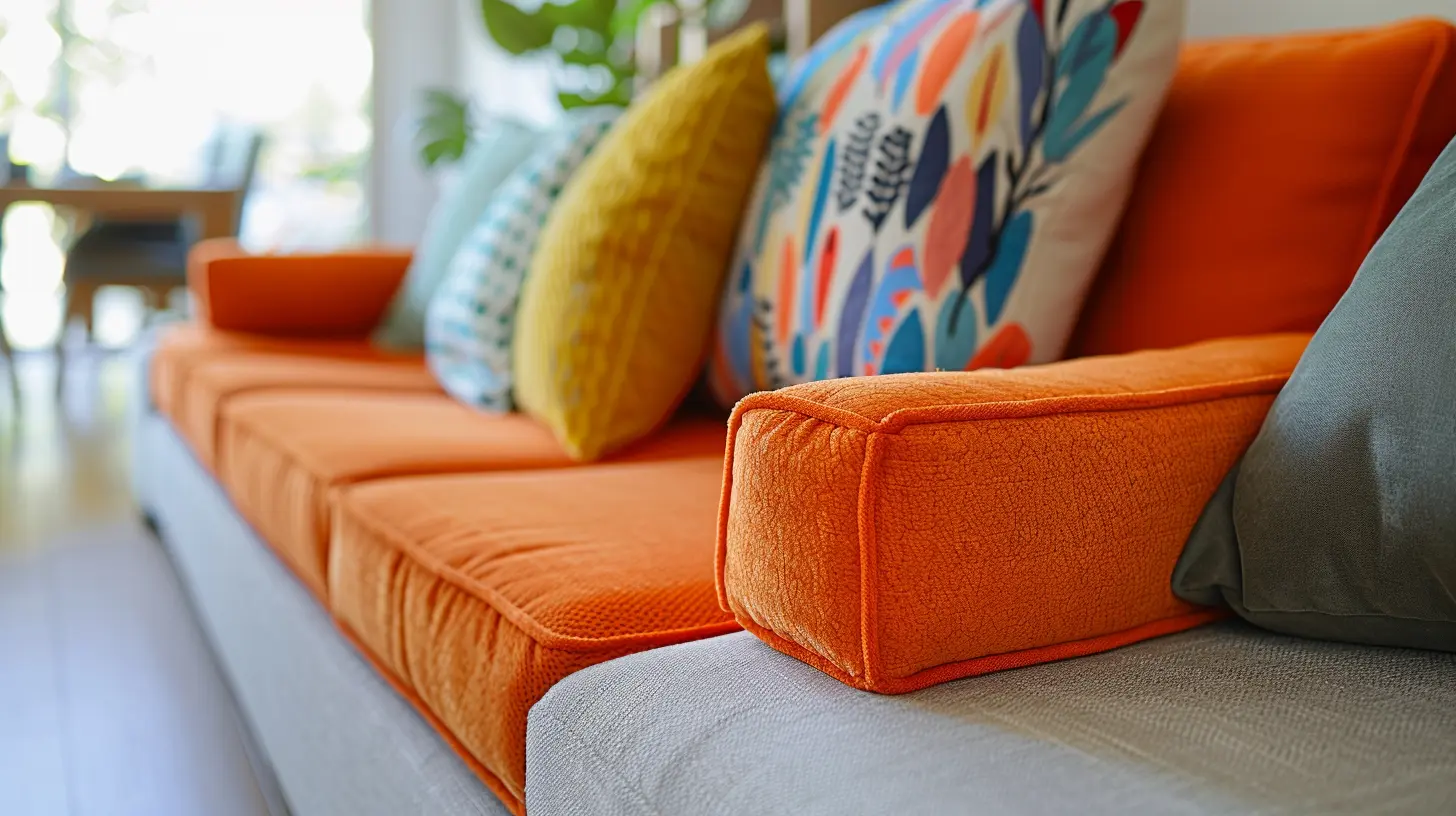
Why Install Corner Guards?
Before we get into the how, let’s cover the why.- Safety First: Kids are naturally curious and always on the move. Sharp table corners and hard furniture edges pose a real risk of injury.
- Peace of Mind: No more sudden gasps every time your toddler runs near the coffee table.
- Furniture Protection: It’s not just about kids! Corner guards also prevent accidental bumps and dings that could damage your furniture.
But at the same time, we don’t want ugly marks on our wooden coffee tables or peeling paint when we finally remove them. So, how do we install them the right way? 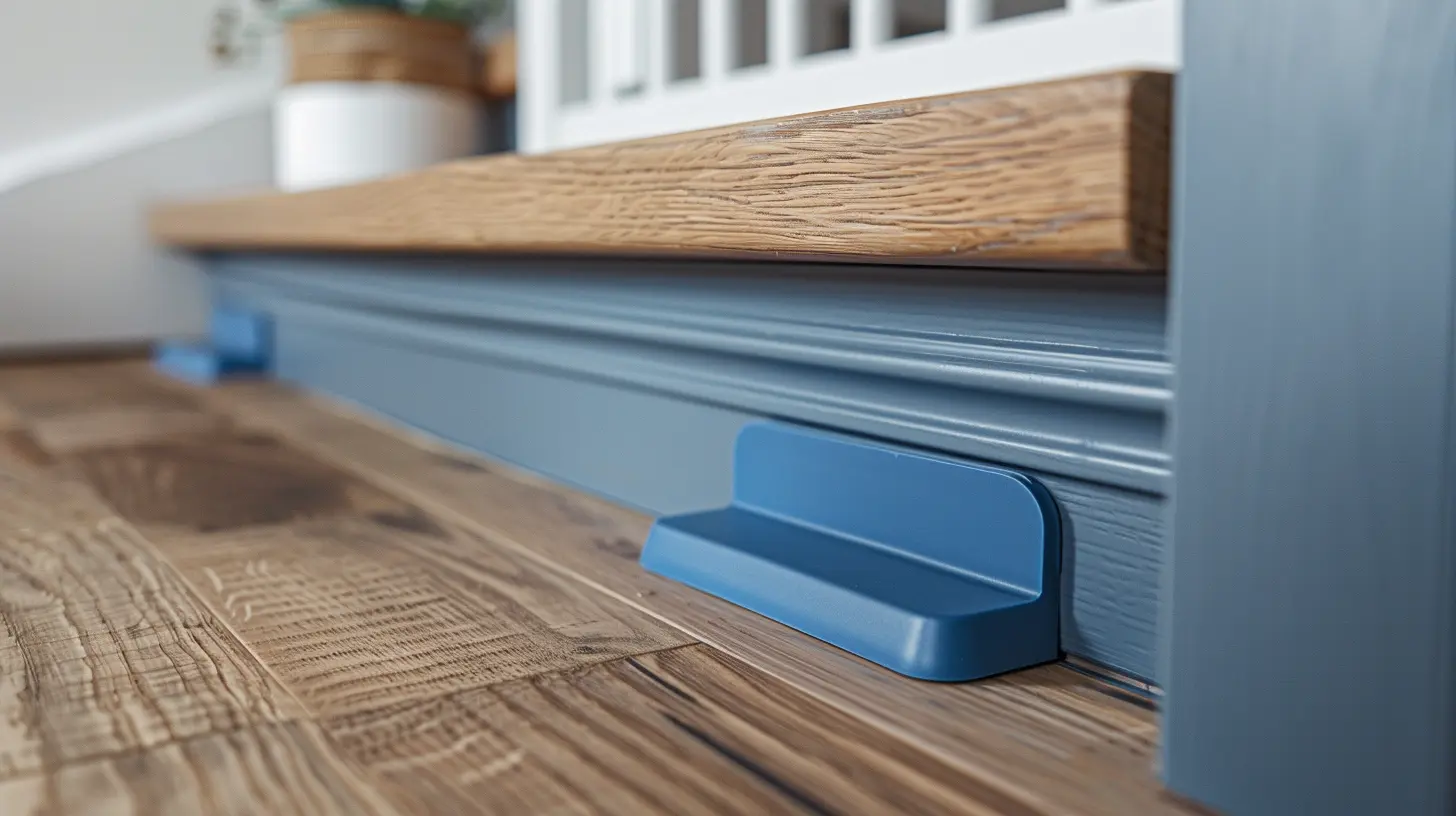
Choosing the Right Corner Guards
Not all corner guards are created equal! Some are designed for temporary use, while others are more permanent. If you’re concerned about your furniture’s finish, pick wisely.Types of Corner Guards
1. Silicone or Rubber Guards- Great for cushioning impacts
- Soft, flexible, and kid-friendly
- Usually attached with adhesive or double-sided tape
2. Clear Plastic Corner Guards
- More discreet and blends with furniture
- Offers moderate protection
- Can be attached using removable adhesive
3. Foam Corner Bumpers
- Ideal for high-impact areas (e.g., coffee tables)
- Thick and soft, ensuring safety
- May come with a strong adhesive that can damage surfaces if not removed correctly
4. Clamp-On or Strap-Based Guards
- No adhesive needed!
- Perfect for glass tables or high-end furniture
- Fastens securely without leaving marks 
Step-By-Step Guide: Installing Corner Guards Safely
Now that you've chosen the right corner guards, let’s install them without causing damage to your furniture.Step 1: Clean the Surface
Before applying any adhesive, clean the furniture surface with a mild cleaner or rubbing alcohol. This removes dust and oils, helping the corner guards stick better without permanent bonding (which can be a nightmare when removing).Step 2: Choose the Right Adhesive
Some corner guards come with super-strong adhesive that might strip paint or leave residue behind. Here’s what you can do:- Opt for removable adhesive strips (like 3M Command Strips) instead of permanent glue.
- If your set comes with strong adhesive, swap it out for a low-tack double-sided tape.
Step 3: Position the Guard Correctly
Align the corner guard precisely before pressing it down. Make sure it covers the exposed sharp edge fully, offering maximum safety.Step 4: Apply Gentle Pressure
Press down for 15-30 seconds to secure it. If using removable adhesives, avoid shifting or adjusting too much, as this can weaken the bond.Step 5: Check for Stability
Give the guard a gentle tug. If it shifts easily, reinforce it with extra strips or use a different type of adhesive.
How to Remove Corner Guards Without Damage
When your little one has outgrown the need for corner guards, you’ll want to take them off without leaving ugly marks behind. Here’s how:Step 1: Loosen the Adhesive Gently
Do not rip them off like a band-aid! Instead:- Use a hairdryer on low heat to soften the adhesive.
- Slowly wiggle the guard back and forth to loosen it.
Step 2: Remove Residue Safely
If there’s any sticky residue left behind:- Dab some olive oil, coconut oil, or Goo Gone onto a soft cloth and gently rub the area.
- Wipe clean with a damp cloth.
Step 3: Polish the Surface
For wooden furniture, apply a bit of wood polish or furniture wax to restore shine.Pro Tips to Keep Your Furniture Safe
- Test in a Small Area First – Before applying any adhesive, try it on an inconspicuous spot to ensure it doesn’t ruin the finish.- Use Non-Adhesive Options Where Possible – If you have a glass table, go for clamp-on guards instead of sticky ones.
- Check Guards Periodically – Kids love to pull on things! Make sure the guards are still secure and replace worn-out adhesives if needed.
- Reinforce Without Damage – If a corner guard keeps falling off, try a tiny piece of museum putty (it holds strong but removes cleanly).
Are There Alternative Ways to Childproof Sharp Corners?
If you want to childproof without using traditional corner guards, here are a few alternative hacks:- Softening with Fabric – Wrap sharp edges with soft fabric or foam using removable Velcro strips.
- DIY Pool Noodle Covers – Cut a pool noodle lengthwise and slide it over sharp table edges.
- Rearranging or Padding the Area – Move tricky furniture pieces against walls or place soft rugs around hazardous areas.
Final Thoughts
Installing corner guards doesn’t have to mean ruining your furniture. With the right materials, techniques, and adhesives, you can make your home safe for your little one while keeping your furniture looking flawless.At the end of the day, peace of mind is priceless, and knowing your kiddo can explore the house safely is worth the extra effort. Now that you’re armed with the best tips, go ahead and childproof those sharp edges like a pro!
all images in this post were generated using AI tools
Category:
ChildproofingAuthor:

Max Shaffer
Discussion
rate this article
1 comments
Tala Reed
Protect your kids without sacrificing style—corner guards can be functional and chic!
November 19, 2025 at 6:05 PM
Max Shaffer
Absolutely! Corner guards can be both protective and stylish—great for keeping your furniture safe while enhancing your decor.