Fun Science Experiments You Can Do at Home with Your Preschooler
3 September 2025
Let’s face it—curiosity is the name of the game with preschoolers. They’re constantly asking “why,” “how,” and sometimes even “what in the world?” And honestly, it’s one of the most exciting things about parenting. There’s so much wonder in their eyes when they stumble across something new.
So why not turn that natural curiosity into a mini science lab right at home?
You don’t need fancy equipment or a PhD to have fun with science. All you really need is a little imagination, some common household supplies, and your tiny scientist standing by, ready to make magic happen (well, science, technically).
In this post, we’re going to walk through a bunch of fun science experiments you can do at home with your preschooler. They’re simple, safe, and, most importantly, FUN. Let’s dive in!
Why Science at Home Is a Big Deal
Before we jump into the experiments, let’s talk about why this matters.Science at this age isn’t about memorizing formulas or understanding complex theories. It’s about:
- Building critical thinking — They learn to ask questions and make predictions.
- Developing fine motor skills — Pouring, measuring, stirring... it's all part of the fun.
- Encouraging curiosity — Every experiment opens a new door to the world.
- Bonding time — You’re doing this together, and that’s priceless.
Now that we've got our why, let’s get to the what!
Safety First (Because, Always)
A quick word on safety: Always supervise your preschooler during experiments. Even though these are simple, kids don’t always know not to taste the baking soda or put vinegar near their eyes. Keep things fun and safe by explaining each step and guiding their tiny hands when needed.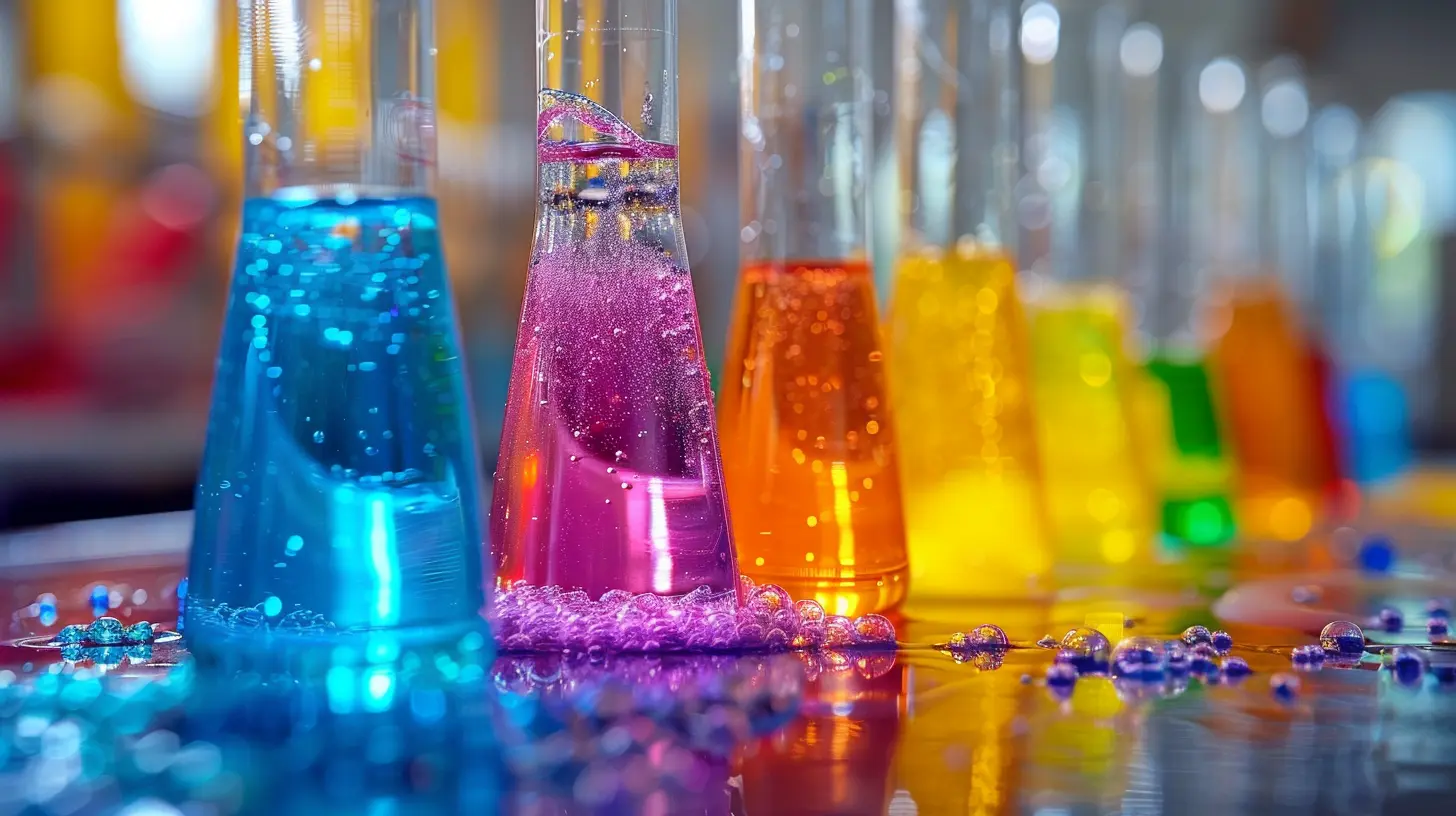
1. Rainbow Walking Water
What You Need:
- 6 clear cups or jars- Paper towels
- Food coloring (red, yellow, blue)
- Water
How It Works:
This experiment demonstrates capillary action—how water moves through paper towels. Plus, it helps teach primary and secondary colors!How to Do It:
1. Line up the 6 cups in a row.2. Fill cups 1, 3, and 5 with water.
3. Add red to cup 1, yellow to cup 3, and blue to cup 5.
4. Fold a paper towel into a strip and place one end in one cup and the other end into the cup next to it. Repeat between all cups.
5. Watch as the colored water “walks” across the paper towel and mixes to form new colors!
The Wow Moment:
Your preschooler will LOVE seeing green, orange, and purple appear like magic. You might even get a little excited too—no judgment here!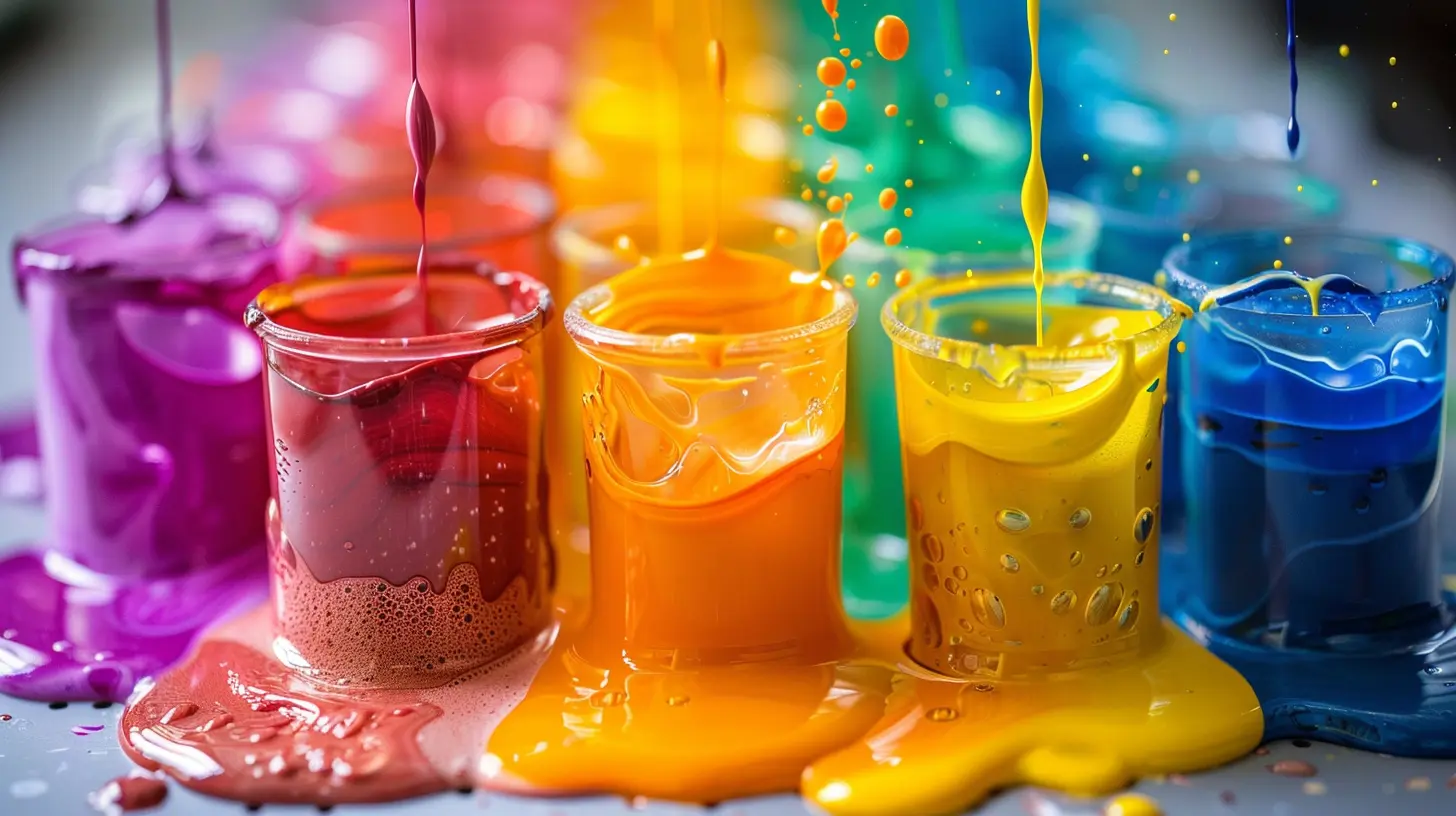
2. Magic Milk Swirls
What You Need:
- Whole milk- Food coloring
- Dish soap
- Cotton swab
- Shallow plate
How It Works:
The soap breaks down fat in the milk and causes the colors to swirl. Science? Art? Why not both?How to Do It:
1. Pour a thin layer of milk into the plate.2. Add drops of different food coloring in the middle.
3. Dip a cotton swab in dish soap and gently touch it to the colors.
The Wow Moment:
Boom—instant swirling rainbows! Your kiddo might ask to do it over... and over... and over.3. Baking Soda Volcano
What You Need:
- Baking soda- Vinegar
- Dish soap
- Food coloring (optional)
- A plastic cup or container
How It Works:
This classic is an acid-base reaction that results in fizzing foam. Preschoolers think it's a mini explosion. They’re not wrong.How to Do It:
1. Place your container on a tray (it gets messy!).2. Fill it halfway with baking soda.
3. Add a few drops of food coloring and a squirt of dish soap.
4. Pour vinegar in and step back!
The Wow Moment:
It’s like a bubbly eruption from a tiny volcano! Kids can’t resist the fizz and foam. Honestly, neither can I.4. Floating or Sinking?
What You Need:
- A bowl of water- Small household objects (spoon, crayon, leaf, coin, sponge, etc.)
How It Works:
Teaches the concept of density and buoyancy in a super hands-on way.How to Do It:
1. Grab a mix of items.2. Ask your preschooler to guess: “Will it float or sink?”
3. Drop each item in the water and discuss what happens.
The Wow Moment:
Preschoolers love being “right.” But they also get so excited trying to “figure it out.” It’s like a mini science game show!5. Grow Your Own Rainbow
What You Need:
- Paper towel- Markers (rainbow colors)
- A cup of water
- Two small plastic cups
How It Works:
Capillary action again! But this one creates a magical rainbow bridge.How to Do It:
1. Fold a paper towel lengthwise and color both ends with rainbow stripes.2. Place each end in a cup of water.
3. Watch the colors slowly meet in the middle.
The Wow Moment:
It takes a few minutes, but once those colors touch—cue the "ooohs" and "ahhhs." It’s like watching a rainbow grow in slow motion.6. Dancing Raisins
What You Need:
- Clear soda (like Sprite)- A glass
- A few raisins
How It Works:
Carbon dioxide bubbles latch onto the raisins, lifting them up—until the bubbles pop and they sink again. Up and down they go!How to Do It:
1. Pour soda into the glass.2. Drop in 3-4 raisins.
3. Watch them dance!
The Wow Moment:
It’s silly, it’s fun, and it might even start a mini dance party in your kitchen.7. Color-Changing Flowers
What You Need:
- White flowers (like carnations)- Food coloring
- Water
- A jar or vase
How It Works:
The colored water travels up the stem and tints the petals. It’s like giving the flower a tattoo from within.How to Do It:
1. Fill the vase with water and add food coloring.2. Trim the flower stem and place it in the colored water.
3. Check back every few hours.
The Wow Moment:
By the next day, your little one will be amazed to see blue or red petals. It's the prettiest science ever.8. Balloon Blow-Up (No Mouth Needed)
What You Need:
- A balloon- A plastic bottle
- Baking soda
- Vinegar
- Funnel
How It Works:
The chemical reaction releases gas (carbon dioxide), which inflates the balloon. No huffing and puffing required.How to Do It:
1. Use the funnel to add vinegar to the bottle (about a third full).2. Put baking soda into the balloon using the funnel.
3. Carefully stretch the balloon over the bottle without letting the baking soda fall in.
4. Once it's secure, lift the balloon so baking soda drops into the vinegar.
The Wow Moment:
Watch the balloon grow! Your preschooler might think it’s magic—and that’s okay. You'll explain the science later!9. Ice Excavation Dig
What You Need:
- Small toys or beads- Ice cube tray
- Water
- Salt
- Droppers or squeeze bottles
How It Works:
It’s all about melting ice and discovering hidden "treasures"—just like real scientists or archaeologists!How to Do It:
1. Place small toys in the tray, fill with water, and freeze.2. Pop out the icy blocks onto a tray.
3. Give your child warm water, salt, and droppers to excavate the toys.
The Wow Moment:
That feeling of discovering the buried treasure? Yep. That’s when you know science just became a full-on adventure.10. Sink the Boat Challenge
What You Need:
- Aluminum foil- A bowl of water
- Pennies or small weights
How It Works:
This one's perfect for introducing basic engineering concepts—like what shapes float best.How to Do It:
1. Let your child make a “boat” out of foil.2. Float it in the water and start adding pennies.
3. Count how many it takes to sink their boat.
The Wow Moment:
When their boat finally sinks? “Let’s build a better one!” They'll be hooked on improving their designs.Final Thoughts: Keep It Light, Keep It Fun
Science with preschoolers isn’t about getting it “right.” It’s about trying, laughing, asking questions, and watching their faces light up as they discover cool stuff. Think of it as playtime with a purpose.So grab your supplies, clear off the kitchen counter, and get ready to mix some magic into your everyday routine. Who knew your home could double as a preschool science lab?
And hey, when in doubt—just add baking soda and vinegar. It never fails.
all images in this post were generated using AI tools
Category:
Parenting PreschoolersAuthor:

Max Shaffer
Discussion
rate this article
1 comments
Zephyrian Reed
Great ideas for engaging young minds creatively!
September 13, 2025 at 4:40 AM

Max Shaffer
Thank you! I'm glad you found the ideas helpful for fostering creativity in young minds!


